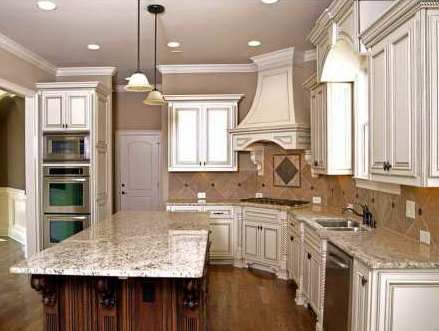
If you feel like there is no life in your kitchen that doesn’t necessarily mean that you have to buy new cabinets. Most probably it is enough to repaint them. In this case make sure that you opt for a bright color that will bring some light in the room.
Preparing the room
For starters you should cover the top of the cabinets and the backsplash to protect them. Flag the cabinet doors and drawers with numbered pieces so later you will know which piece comes where. Remove the pulls and knobs, unscrew the hinges and in case of the drawers you should remove the fronts. Take a sponge and some cleanser and wipe down all the surfaces that you will be working with.
Smooth the dings
Use a putty knife to fill the divots and dings with wood putty. Hardware holes should also be filled. Then take some sandpaper and sand the putty and also rough up the finish of the cabinet. You have to apply a lot of pressure to rub the sandpaper against the nicks, dents or crevices. Screw cup hooks right into the edges of the drawers and doors.
Prime
First you have to apply a layer of primer on the doors and drawers. You should start with the interior panel. Allow the primer to dry and then flip the pieces. While waiting, you can be working with other pieces. After a while you should hang the pieces by the hooks to let them cure completely.
Sanding the primer
After several hours of drying take your random orbit sander along with sandpaper and smooth out the brush strokes on the flat surfaces of the panels. The trim should be sanded using a sanding sponge. Once you are done you should vacuum the surfaces thoroughly. When you are finished wipe them down. You may have to apply another layer of primer and in this case you have to repeat the entire process.
The finish color
The finish color should be applied by a chisel-tipped paintbrush. Start with the doors’ back and then with the front of the drawers and go with the grain. Make sure that you work with thin layers so that there will be no drips. While the pieces are drying, they should be completely flat. Once the pieces are dry, you should flip them and work on the other side as well. Again, let the items sit flat until they dry.


